
business resources
Step by Step: How to Properly Repair Your Stairs
17 Sept 2024

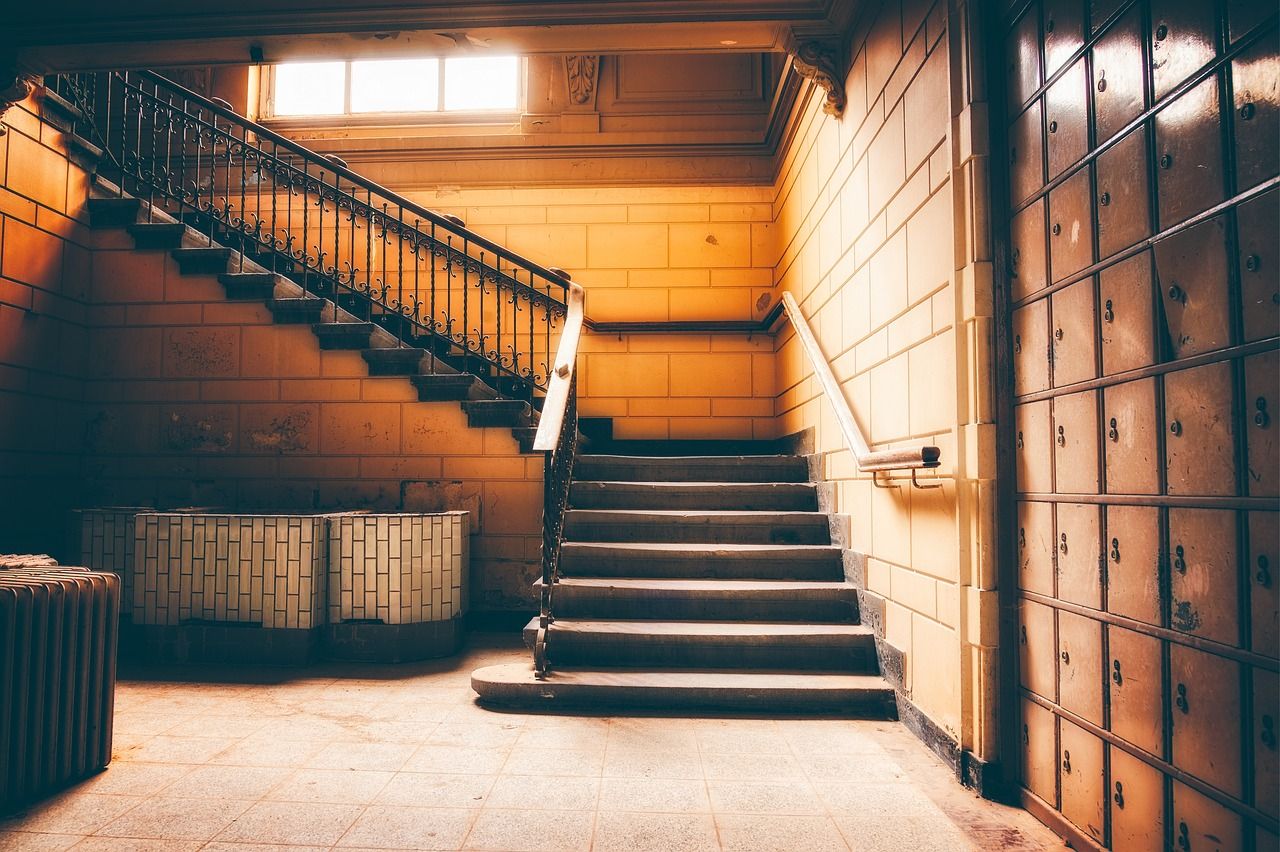
Stairs are one of the most critical components of a home’s infrastructure, serving not only as a means of vertical transportation but also as a key element of safety and aesthetics. Over time, wear and tear can lead to issues such as loose steps, creaky joints, and even structural damage. Addressing these problems promptly is essential to maintaining both the functionality and safety of your stairs. In this guide, we’ll walk you through a detailed step-by-step process for properly repairing your stairs, ensuring that they remain safe, sturdy, and visually appealing.
Step 1: Inspect the Stairs
The first step in repairing your stairs is to conduct a thorough inspection. Start by examining each step and the handrails for any visible damage. Look for loose or broken steps, wobbly handrails, and any signs of rot or decay. Check the stair treads and risers for cracks or gaps, and ensure that all screws and nails are secure. If your stairs have carpeting, gently pull it back to inspect the underlying structure. This initial assessment will help you identify the specific issues that need to be addressed and determine the scope of the repair work.
Step 2: Gather Your Tools and Materials
Before you start the repair process, gather all the necessary tools and materials. Common tools for stair repairs include a screwdriver, pop rivets, hammer, level, measuring tape, saw, wood glue, wood filler, and sandpaper. Depending on the nature of the repairs, you may also need replacement parts such as new treads, risers, or handrail brackets. Having everything on hand will streamline the repair process and ensure that you’re prepared for any issues that may arise.
Step 3: Secure Loose Steps
One of the most common issues with stairs is loose or wobbly steps. To address this problem, start by tightening any loose screws or nails that hold the step in place. If the fasteners are stripped or damaged, replace them with new ones. For wooden steps, apply wood glue to any joints that are separating, and use clamps to hold the step in place while the glue dries. For metal or concrete steps, ensure that the attachment points are secure and consider using concrete repair products for any cracks or gaps.
Step 4: Repair or Replace Damaged Treads and Risers
If your inspection revealed damaged treads or risers, you’ll need to repair or replace them. For minor damage, such as small cracks or gouges, use wood filler or a similar repair product to fill in the gaps. Once the filler is dry, sand the area smooth and repaint or stain as needed. For more significant damage, such as split treads or rotting risers, you’ll need to replace the affected parts. Carefully remove the damaged treads or risers, cut new pieces to size, and secure them in place using wood glue and screws or nails. Ensure that the new parts are level and flush with the surrounding steps.
Step 5: Fix Creaky Stairs
Creaky stairs are often caused by loose connections between the treads, risers, and stringers. To fix this issue, identify the source of the creak by carefully walking up and down the stairs while listening to the noise. Once you’ve pinpointed the problem area, use a screwdriver or drill to tighten any loose screws or nails. If the creak persists, apply a small amount of powdered graphite or lubricant to the joints to reduce friction. In some cases, you may need to reinforce the connections with additional screws or brackets to eliminate the creak.
Step 6: Address Structural Issues
If your inspection revealed more serious structural issues, such as damaged stringers or unstable handrails, these problems must be addressed to ensure the safety of your stairs. For damaged stringers, carefully remove any damaged sections and replace them with new wood or metal supports. Reinforce the connections between the stringers and the treads with additional fasteners as needed. For unstable handrails, check the brackets and attachments to ensure they are secure. If necessary, replace or reinforce the handrail supports to provide a stable and safe grip.
Step 7: Sand and Finish
Once all repairs are complete, it’s time to sand and finish your stairs to restore their appearance. Begin by sanding any repaired areas to ensure a smooth, even surface. Use fine-grit sandpaper to avoid damaging the wood. After sanding, clean the stairs to remove any dust or debris. Apply a coat of paint, stain, or sealant to protect the wood and enhance its appearance. Be sure to follow the manufacturer’s instructions for drying times and application methods to achieve the best results.
Step 8: Test and Finalize
After completing all repairs and finishing touches, thoroughly test the stairs to ensure they are safe and functional. Walk up and down the stairs, checking for any remaining creaks, wobbles, or loose areas. Verify that all steps are secure and level, and confirm that the handrails are stable. If everything passes inspection, replace any carpeting or coverings that were removed during the repair process. Finally, clean up your workspace and dispose of any old materials or debris.
Repairing your stairs can seem like a daunting task, but with a systematic approach and attention to detail, you can achieve professional results. By inspecting, repairing, and finishing your stairs properly, you’ll ensure that they remain a safe and attractive feature of your home for years to come. Regular maintenance and prompt repairs will help you avoid more significant issues in the future, preserving the integrity and value of your property.


