


Trading Strategies & Tech
Mastering Villager Trading in Minecraft: A Comprehensive Guide
26 Mar 2026

Trading villagers in Minecraft can feel confusing at first, but once you get the hang of it, it’s actually pretty fun and rewarding. Whether you want rare enchanted books or just a steady supply of emeralds, knowing how to set up and manage your own village is a total game-changer. In this guide, I’ll walk you through the basics of villager jobs, breeding, trading strategies, and keeping your villagers safe. If you’re tired of wandering from village to village hoping for good trades, it’s time to take control and build your own thriving trading hub.
Key Takeaways
- Villager jobs are tied to specific job site blocks, so place the right block to get the profession you want.
- Breeding villagers is simple if you provide enough beds, food, and a safe spot for them to live.
- Trading villagers level up as you trade with them, unlocking better deals and rare items at higher tiers.
- Keeping your village safe from zombies and other mobs is super important—once a villager is gone, you can’t bring them back.
- Naming your villagers and curing zombie villagers can help you organize your trades and grow your community.
Understanding Villager Professions And Trades
Alright, let’s talk about the folks who make your Minecraft world go ’round: the villagers. These guys aren’t just for show; they’re the backbone of your in-game economy, and knowing their jobs is key to getting the good stuff. Each villager has a specific profession tied to a job site block, and this determines what they’ll trade with you.
Identifying Essential Villager Roles
Villagers come in all sorts of flavors, and each one is good for something different. You’ve got your Farmers, who’ll happily take your crops and give you bread or emeralds. Librarians are great for enchanted books, though you’ll need to find them with a Lectern first. Then there are the Armorer, Toolsmith, and Weaponsmith, who deal in gear. Don’t forget the Cleric for potions and the Butcher for all your meat needs. Knowing who does what means you can set up your trading hall efficiently.
Matching Job Blocks to Professions
So, how do you get a villager to be, say, a Librarian instead of just a wanderer? It’s all about the job site block. When a baby villager grows up and is unemployed, it’ll look for a nearby, unclaimed job block to claim. Place a Lectern, and boom, you’ve got a Librarian. A Composter makes a Farmer, a Blast Furnace an Armorer, and so on. It’s pretty straightforward, but you have to be quick! If you don’t trade with them yet, you can break the block and replace it to try and get different trades, which is super handy if the first set isn’t what you wanted. You can find a full list of villager jobs and their blocks online.
The Role Of Emeralds In Villager Trading
If you’ve traded with villagers at all, you know emeralds are the main currency. They’re like the gold standard of villager transactions. Villagers will buy your excess items, like coal or wheat, for emeralds, and then you can use those same emeralds to buy things from them, like enchanted books or diamond armor. It’s a constant cycle, and managing your emerald flow is pretty important for getting the best gear and items without having to mine for ages. You’ll be swimming in emeralds if you set up a good trading system.
Trading with villagers is a core mechanic that can drastically change how you acquire resources and gear in Minecraft. It’s not just about getting items; it’s about building relationships and creating a sustainable economy within your world. Think of it as setting up your own little shop, but with nose-faced NPCs.
Cultivating Your Villager Population
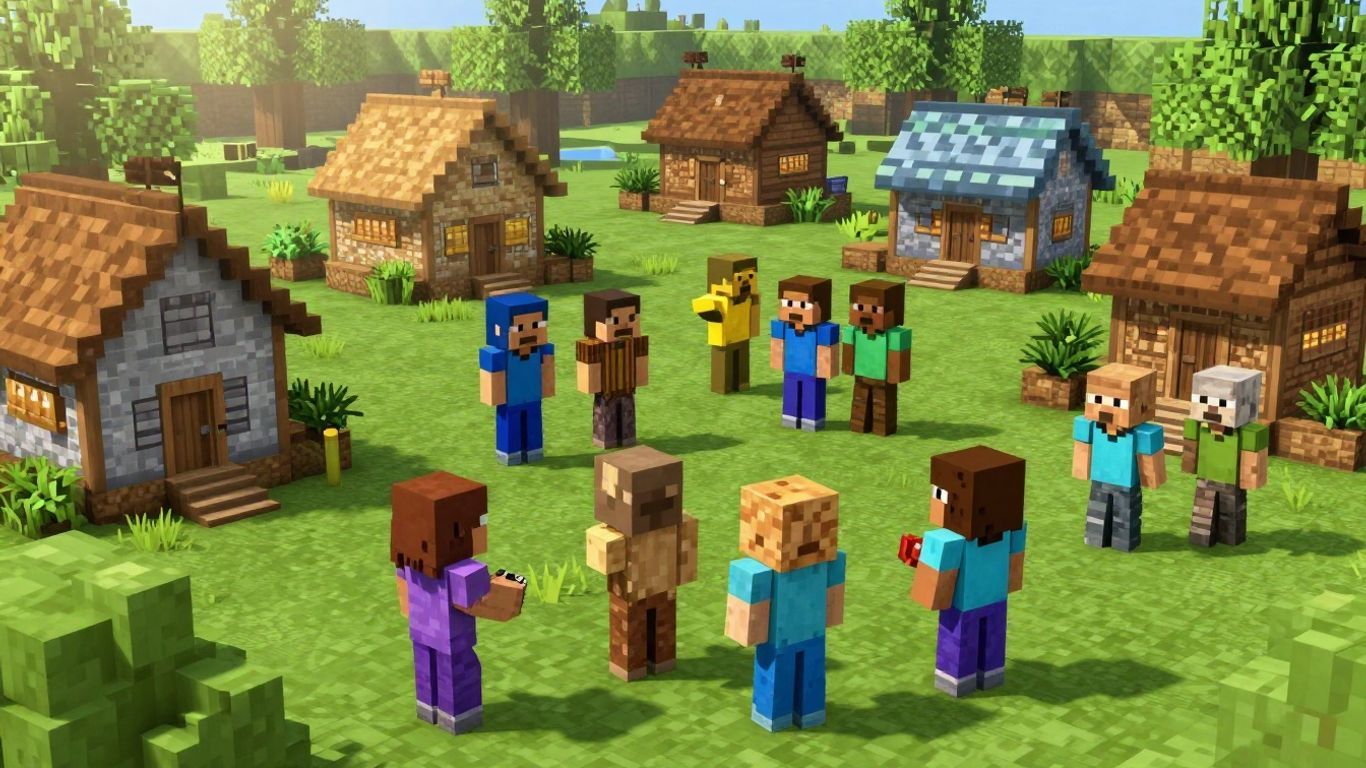
So, you’ve got a couple of villagers, maybe from a village you stumbled upon or perhaps you cured a zombie. That’s a good start, but if you want a truly productive trading hall, you need more. Relying on random spawns just won’t cut it. The real trick is learning how to get them to make more villagers. It sounds a bit odd, but it’s how you build up your workforce.
The Core Mechanics Of Villager Breeding
Getting villagers to have little villager babies isn’t rocket science, but there are a few things they absolutely need. Think of it like setting up a comfortable home for them. They need a place to sleep, food to eat, and they need to feel safe. If any of these are missing, they just won’t get the idea to reproduce.
- Beds are Key: Each new baby villager needs its own bed. So, if you have two adult villagers ready to breed, you need at least three beds in total – one for each adult and one for the baby they’re about to have. Make sure these beds are accessible; they can’t be blocked by anything.
- Food, Glorious Food: Villagers need to have food in their inventory. You can toss them items like bread, carrots, potatoes, or beetroot. They’ll pick it up, and if they have enough, it helps them feel ready to start a family.
- Safety First: This is a big one. If your villagers are constantly scared because of monsters or other threats, they won’t breed. Keep your village area well-lit and protected.
The simplest way to get villagers to breed is to ensure they have enough beds and food, and that they feel secure in their environment. It’s all about meeting their basic needs.
Ensuring Sufficient Housing And Sustenance
Let’s break down the housing and food situation a bit more. It’s not just about having beds and food lying around; it’s about making sure the villagers can actually use them.
For beds, you need to place them where the villagers can pathfind to them. If a bed is tucked away in a corner with no clear path, it doesn’t count for breeding purposes. The same goes for food. You can manually give them food by dropping it near them, or if they have a job site block, they might grab food from it themselves to replenish their inventory. A farmer villager is particularly good at this, as they’ll harvest crops and store food.
Here’s a quick look at what they like:
| Food Item | Amount Needed (approx.) |
|---|---|
| Bread | 3 loaves |
| Carrots | 12 |
| Potatoes | 12 |
| Beetroot | 12 |
Creating A Safe Environment For Reproduction
This is where a lot of people run into trouble. Villagers are skittish creatures. If a zombie pops up at night, or a creeper decides to explore your village, they’ll panic. And when they panic, they stop thinking about making more villagers. You need to create a secure zone for them.
- Light it Up: Place torches or other light sources liberally around your village area. This stops hostile mobs from spawning nearby.
- Build Walls: A simple fence or wall around your main villager area can keep out most wandering monsters.
- Keep Them Busy (and Safe): Assigning them jobs is good, but make sure their job sites are also within your protected zone. This way, they can go about their business without constantly looking over their shoulder.
Remember, a happy, well-fed, and safe villager is a villager who’s more likely to contribute to your growing population. It takes a little effort, but the payoff in terms of trading potential is huge.
Maximizing Trade Value Through Villager Progression
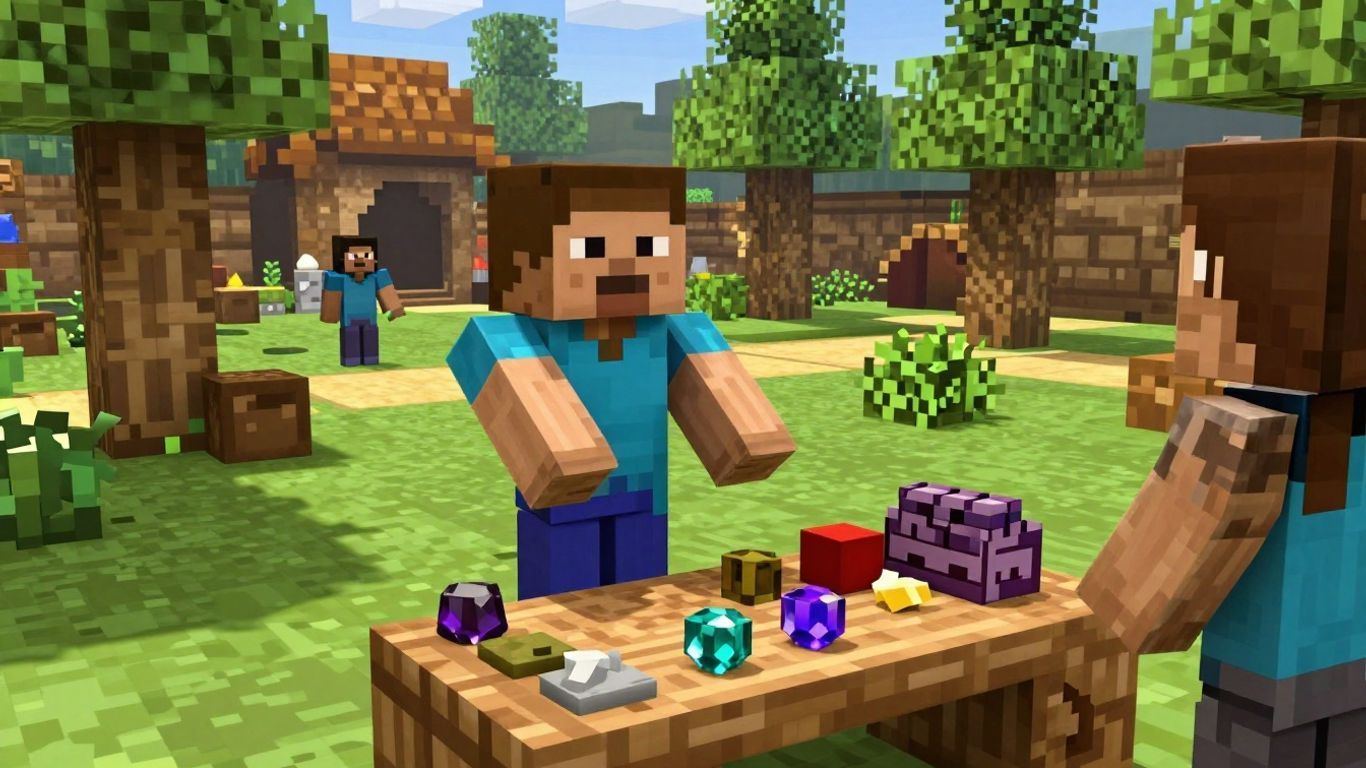
So, you’ve got your villagers set up with jobs, and maybe you’ve even made a few trades. But are you getting the most out of them? That’s where leveling up comes in. Think of it like this: every villager has a career path, and you’re the one helping them climb it. The better they get at their job, the better the deals they offer you.
The Five Tiers Of Villager Advancement
Villagers move through five distinct levels as you trade with them. It’s a pretty straightforward system, really. You start with a Novice, and with enough successful trades, they’ll move up to Apprentice, then Journeyman, Expert, and finally, Master. Each promotion means new and often better items become available for trade.
- Novice: This is where everyone starts. Trades here are usually pretty basic, good for getting initial supplies or emeralds.
- Apprentice: They’ve learned a bit more. You might start seeing slightly more specialized items.
- Journeyman: Getting warmer. This level often opens up more useful goods, and prices might start to get a little better.
- Expert: Now we’re talking. Experts usually have some really good items on offer, things you might have been looking for.
- Master: This is the top tier. Masters often have the best enchantments, rare materials, or top-tier gear. This is usually the goal for serious traders.
Unlocking Superior Trades With Higher Levels
As your villagers level up, their trade lists change. A Novice Librarian might only offer basic books, but a Master Librarian? They can sell you some of the most sought-after enchanted books in the game, like Mending or Unbreaking III. Similarly, an Armorer will start with iron armor and eventually offer diamond armor at the Master level. The key is consistent trading; the more you trade, the faster they level up and the better their stock becomes.
It’s not just about getting better items, either. Sometimes, the prices get better too, especially if you’re trading items they want to buy. You’ll see their available trades refresh as they gain experience, and you can keep an eye on what they’re offering.
Strategic Trading For Specific Enchantments
This is where things get really interesting. If you’re after a particular enchantment, like Fortune III for your mining pickaxe or Protection IV for your armor, you’ll want to focus on leveling up Librarians or Blacksmiths, respectively. It can take a while, and you might have to break and replace their job site blocks a few times to get them to offer the specific enchantment you want at a lower level before they reach Master. But once you find a villager offering that perfect enchantment, keep trading with them! You want to get them to Master status so they always have that trade available and potentially offer even more.
You can reset a villager’s trades if you haven’t traded with them yet. Just break their job site block and place it again. This is super handy if you’re trying to get a specific enchantment from a Librarian and they aren’t offering it initially. But once you make a trade, that’s it – their trades are locked in for that level. So, plan ahead and be patient.
Establishing A Thriving Trading Economy
So, you’ve got your villagers, maybe you’ve even managed to get a few to breed. That’s great! But how do you turn that little group into a real economic powerhouse? It’s all about setting things up right from the start. Think of it like building a small town – you need the right shops, the right workers, and a system that keeps everyone happy and productive.
The Importance Of Job Site Blocks
These blocks are basically the villagers’ workplaces. A farmer needs a composter, a librarian needs a lectern, and a blacksmith needs a grindstone or blast furnace. Without their specific job block, they’re just wandering around aimlessly, unemployed. Placing the correct job site block near an unemployed villager is how they get their profession. It’s pretty straightforward, but you have to be quick. If they pick up a job you didn’t want, you can break the block and try again, but only if you haven’t traded with them yet. Once you’ve made a trade, that profession is locked in for that villager.
Resetting Trades Before First Interaction
This is a big one, especially if you’re aiming for specific enchanted books or gear. Villagers have different trade tiers, and their initial offers are usually not the best. If you haven’t traded with a villager yet, you can break their job site block and replace it to reset their profession and their trades. This lets you keep trying until you get that perfect Librarian offering Mending or an Armorer selling diamond boots. It takes patience, but it’s worth it for those top-tier trades.
Maintaining Peaceful Trading Conditions
Villagers get stressed out, just like us! If there are monsters lurking around, or if they’re constantly getting attacked, their prices go up. It’s their way of saying, "Hey, I’m scared, so you’re going to pay more for this." Keeping your trading area well-lit, maybe even enclosed, and free from hostile mobs makes a huge difference. A calm villager is a cheaper villager, and that means more emeralds in your pocket for better gear.
Building a good trading setup isn’t just about having villagers; it’s about creating an environment where they feel safe and can do their jobs. This means thinking about lighting, defenses, and making sure their job blocks are accessible but also protected. A little bit of effort here goes a long way in making your trading hall efficient and profitable.
Essential Tools For Villager Management
Alright, so you’ve got your villagers set up, maybe you’re even starting to see some little ones running around. That’s great! But managing a growing population can get a bit messy, especially when you’re trying to get specific trades. Luckily, there are a few tricks up our sleeve to make things way easier.
Naming Villagers For Organization
Seriously, don’t skip this. When you’ve got a bunch of villagers milling about, trying to remember who’s who and what they do is a headache. Giving them names is a game-changer for keeping track. You’ll need an Anvil and a Name Tag for this. Just pop the Name Tag into the Anvil, give it a name you like, and then use the renamed tag on the villager. It sounds simple, but trust me, when you have a Master Librarian and a Journeyman Fletcher, knowing which is which without a name is a pain.
Curing Zombie Villagers For New Recruits
Found a zombie villager lurking around? Don’t just run away! These guys are actually a fantastic opportunity. If you can trap one safely (away from sunlight and other mobs), you can cure them. You’ll need a Potion of Weakness and a Golden Apple. Throw the potion at the zombie villager, then use the Golden Apple on them. They’ll shake for a bit and then turn back into a regular, unemployed villager. This is a super useful way to get more villagers without relying solely on breeding, especially if you lost some along the way.
The Irreversibility Of Villager Demise
This is the tough one. If a villager dies in your world, that’s it. There’s no bringing them back. No resurrection spell, no special item. They’re gone for good. This is why protecting your villagers is so important. Losing a villager you’ve traded with, especially one with good trades, can really set you back. It means you either have to find another one, breed more, or cure a zombie villager to replace them. So, keep those walls up and those torches lit!
Building a solid defense around your village isn’t just about aesthetics; it’s about survival. Hostile mobs are a constant threat, and a single creeper explosion or a zombie attack can wipe out hours of work. Make sure your village is well-lit and enclosed to keep your villagers safe and happy. A scared villager won’t trade well, and a dead villager can’t trade at all.
Here’s a quick rundown of what you’ll need for these management tasks:
- Naming: Anvil, Name Tag
- Curing: Potion of Weakness, Golden Apple, a way to trap the zombie villager
- Protection: Walls/fences, torches/light sources
Wrapping Up Your Trading Game
So, that’s pretty much it for getting your villager trading operation running smoothly. It might seem like a lot at first, with all the beds and food and making sure they don’t get scared by creepers. But honestly, once you get the hang of it, it’s not that bad. Having villagers who give you exactly what you need, like those sweet enchantments or that diamond armor, makes all the difference in surviving and just enjoying Minecraft more. Don’t be afraid to experiment and build up your own little trading empire. It’s a really satisfying part of the game when it all comes together.
Frequently Asked Questions
What are the different jobs villagers can have in Minecraft?
Villagers can take on many jobs, like being a farmer, librarian, armorer, or blacksmith. Each job is tied to a special block, like a composter for a farmer or a lectern for a librarian. These jobs let them trade different kinds of items with you.
How do I get villagers to breed?
To get villagers to have baby villagers, you need to give them enough beds and food. They also need to feel safe and secure. Make sure there’s an extra bed for the baby and plenty of food like bread or carrots in their inventory. If they’re happy and have what they need, they’ll eventually breed.
Can I change a villager’s job if I don’t like their trades?
Yes, you can! If you haven’t traded with a villager yet, you can break their job block and place a new one nearby. The villager will then try to claim the new block and get a different job. This is a great way to get the specific trades you want.
What’s the best way to get good enchantments from villagers?
To get the best enchantments, you need to level up your villagers by trading with them a lot. As they level up from Novice to Master, they unlock better and more powerful trades. A Master-level Librarian, for example, can offer top-tier enchanted books.
How can I protect my villagers from monsters?
Keeping your villagers safe is super important! Build walls or fences around your village and light up the area well with torches. This stops monsters like zombies from spawning and attacking them. If villagers get scared or hurt, they might not trade with you or breed.
What happens if a villager dies? Can I get them back?
Sadly, if a villager dies in Minecraft, there’s no way to bring them back to life. You’ll have to find new villagers or cure zombie villagers to replace them. That’s why protecting your villagers is a top priority to keep your trading economy going.


