


Trading Strategies & Tech
Mastering Villager Trading in Minecraft: A Comprehensive Guide
26 Mar 2026

So, you want to get better at trading with villagers in Minecraft? It’s not as complicated as it might seem at first. You can get some really good stuff from them if you know what you’re doing. This guide is going to walk you through how to get the most out of these blocky folks, from finding them to making sure they give you the best deals. We’ll cover how to get them to breed, how to set up a good trading spot, and how to keep them safe. It’s all about making your Minecraft world a little bit easier and a lot more profitable.
Key Takeaways
- Understand what each villager profession does and what they offer in trades. Different job blocks give villagers different jobs.
- Set up a safe and organized area for your villagers. This makes it easier to manage them and protect them from harm.
- Learn how villagers breed. You need beds and food to make them willing to have baby villagers.
- Trade with villagers often to level them up. Higher levels mean better and more useful trades, like enchanted books.
- Protect your villagers from monsters. A safe village is a happy village, and happy villagers trade better.
Understanding Villager Professions And Trades
Alright, let’s talk about the folks who make up your Minecraft village: the villagers. These guys aren’t just for show; they’re the backbone of your in-game economy, and knowing their jobs is key to getting the good stuff. Each villager can take on a specific profession, and this profession dictates what they’ll buy from you and, more importantly, what they’ll sell.
Identifying Different Villager Roles
So, how do you know who’s who? It’s all about their clothes and, more importantly, their job site block. An unemployed villager, or a baby villager that just grew up, will look for a job. You can assign them a profession by placing a specific block nearby. For example, put a lectern down, and if an unemployed villager is close enough and hasn’t traded with anyone yet, they might become a Librarian. A farmer needs a composter, an armorer needs a blast furnace, and so on. It’s pretty neat how they just claim these blocks.
Here’s a quick rundown of some common professions and their blocks:
- Farmer: Composter
- Librarian: Lectern
- Cleric: Brewing Stand
- Armorer: Blast Furnace
- Toolsmith: Smithing Table
- Weaponsmith: Grindstone
- Butcher: Smoker
- Leatherworker: Cauldron
The trick is to get the job block in place before the villager claims it, especially if you’re trying to get a specific trade. If you mess up, or if they haven’t traded with you yet, you can just break the job block and try again. They’ll become unemployed again and look for a new job.
The Role Of Job Site Blocks
These job site blocks are more than just decorations; they’re the anchors for a villager’s profession. When an unemployed villager spots an unclaimed job block, they’ll link up with it. This link is what gives them their job and determines their trading options. If you want a villager to be a Librarian, you need a lectern. If you want an Armorer, you need a blast furnace. It’s pretty straightforward, but you have to be quick. If you place the block and the villager doesn’t claim it, or if they already have a job, it won’t work. You can’t assign a job to a villager who’s already employed or one that’s a Nitwit (those green-robed guys who can’t get jobs).
Remember, once you’ve traded with a villager, their profession and trades are locked in. So, if you’re trying to get a specific enchantment from a Librarian, make sure you haven’t accidentally traded with them for something else first. It’s a bit of a race against time and their own AI.
Unlocking Advanced Trade Offers
Getting a villager to do a job is just the first step. To really get the good stuff, you need to level them up. Villagers have experience tiers: Novice, Apprentice, Journeyman, Expert, and Master. Every time you trade with them, they gain experience. Completing enough trades in one tier will promote them to the next, and with each promotion, they’ll offer new and better trades. A Novice Librarian might sell basic books, but a Master Librarian? They could have Mending or other super rare enchantments. It pays to trade often, not just for the items, but to improve the villager’s skills and their stock. Keep an eye on their trades; they change as they level up, and sometimes you can snag some really great deals.
Establishing Your Villager Trading Hub
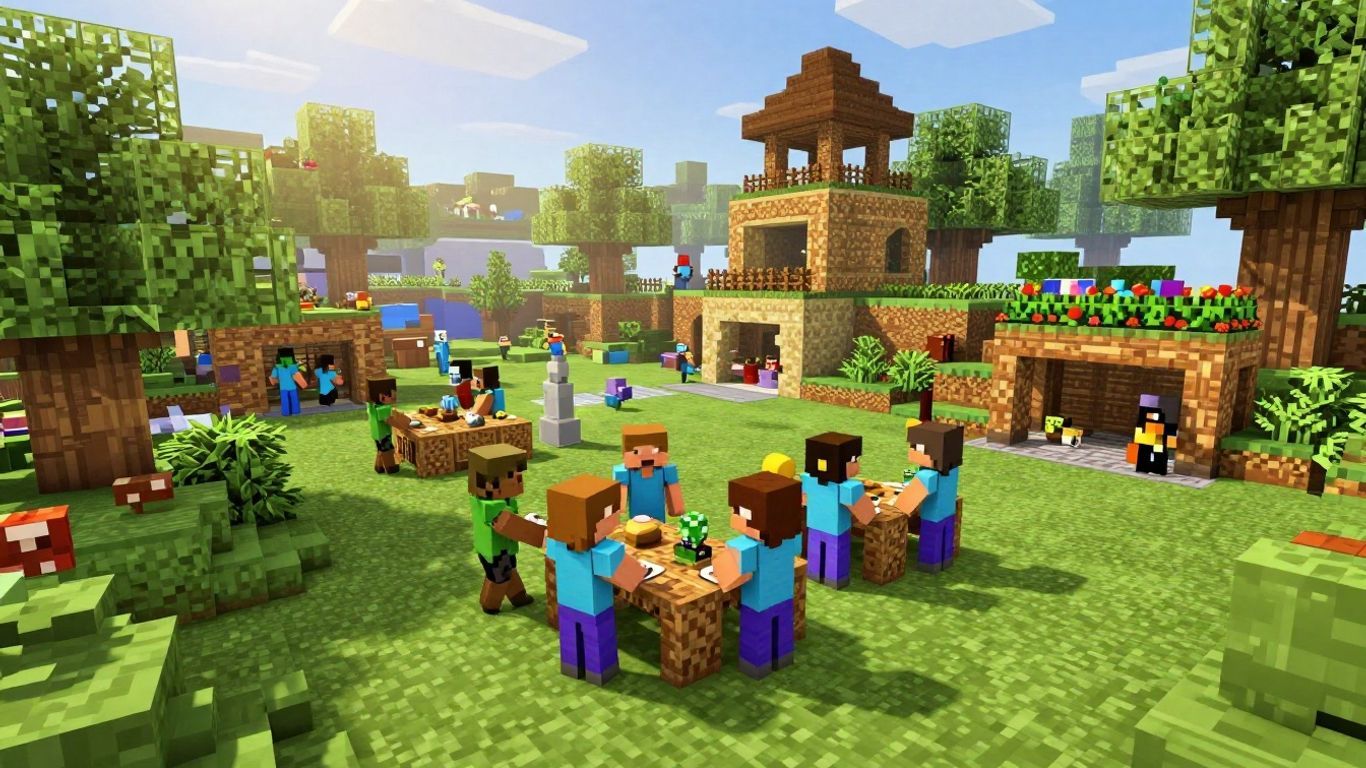
So, you’ve decided to get serious about villager trading. That’s a smart move! Instead of just hoping a good villager spawns in a random village, you can build your own trading center. It takes a bit of work, but trust me, it’s worth it.
Acquiring Your First Villagers
Getting your initial villagers is the first hurdle. You can either find a pre-existing village and try to convince some residents to move to your base, or you can try to breed two villagers you already have. If you find a village, you’ll need to transport them. This can be done using minecarts or boats, but it’s often easier to just start a breeding program right where you find them and then move the babies. To get them to breed, you need to make sure they have enough beds and food. Seriously, just toss them some bread, carrots, or potatoes. If they have access to at least two beds and some food, and feel safe, they might just make a baby villager.
Creating A Safe And Secure Environment
Villagers are pretty vulnerable. Mobs like zombies and skeletons love to pick on them. So, your trading hub needs to be a fortress. Think walls, good lighting to stop spawns, and maybe even some defensive structures if you’re feeling fancy. You don’t want your valuable traders getting picked off. Also, keep them away from lava and deep falls. A safe villager is a happy villager, and a happy villager is more likely to trade with you.
Transporting Villagers To Your Base
This is where things can get a little tricky. If you’ve found villagers in another village and want them at your main base, you’ve got a few options. Minecarts are a classic choice, but they can be slow and a bit fiddly to set up. Boats are faster on water, so if you have a river route, that’s a good bet. You can also try to lure them with beds, but that’s less reliable for long distances. The key is to make sure the path is clear of dangers and that they can’t escape. Enclosing them in a secure transport system is the safest bet.
Here’s a quick rundown of common transport methods:
- Minecarts: Good for land, but require rails.
- Boats: Excellent for water travel, faster than minecarts.
- Leads (Java Edition only): Can be used to pull villagers, but only for short distances and requires careful handling.
- Water Streams: Can be used to push villagers along channels.
Building a dedicated villager transport system, like a series of minecart tracks or water channels leading directly to your base, will save you a lot of headaches in the long run. It makes setting up new villagers or moving existing ones much simpler.
Mastering Villager Breeding Mechanics
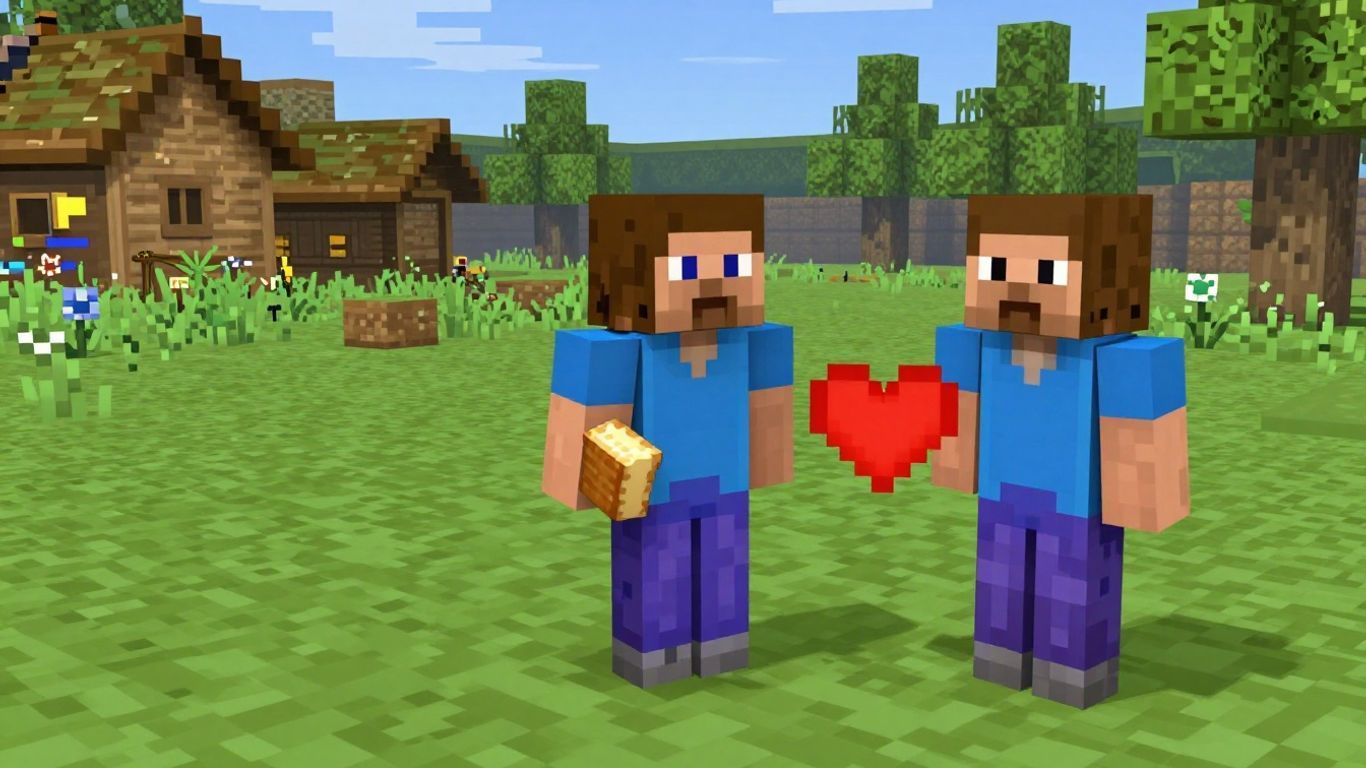
Alright, so you’ve got your first couple of villagers, maybe you even managed to get them a job. But what if you want more? More villagers means more trades, more emeralds, and generally a more bustling (and profitable) base. Well, you’re in luck, because making more villagers isn’t that complicated, but it does have a few specific rules you need to follow. It’s not just about shoving two villagers in a room and hoping for the best.
The Core Requirements For Reproduction
To get two villagers to decide it’s time to start a family, you need to meet three main conditions. Think of it like setting the mood for them. If any of these are missing, they just won’t feel like it.
- A Safe Space with Extra Beds: Villagers need to feel secure, and they also need a place for the new baby to sleep. For every two adult villagers you want to breed, you need at least three beds available. One for each adult, and one extra for the baby. These beds need to be accessible, meaning there’s at least two blocks of air above them so a little villager can hop on.
- Sufficient Food Stock: Both adult villagers need to have a decent amount of food in their personal inventory. They don’t share food like we do; each one needs to be ready to contribute. The best foods for this are bread, carrots, potatoes, or beetroot. You can toss these items on the ground near them, and they’ll pick them up.
- The ‘Willingness’ Status: This is the final trigger. Once they have enough food and there’s an available bed, they’ll get this ‘willing’ status. You’ll see little green particles, like happy little sparks, pop above their heads. This means they’re ready to try and make a baby villager.
Ensuring Sufficient Housing And Food
Let’s break down the food and bed situation a bit more, because this is where most people get stuck. You can’t just have one bed for the two adults and expect a baby to magically appear. And they won’t breed if they’re starving, obviously.
Here’s a quick rundown of the food amounts needed per villager to get them ‘willing’:
| Food Item | Amount Needed Per Villager |
|---|---|
| Bread | 3 loaves |
| Carrots | 12 |
| Potatoes | 12 |
| Beetroot | 12 |
Remember, you need to get both villagers to have this amount of food in their inventory. If you have a farmer villager, they’re great because they’ll harvest crops and sometimes even share them, which can help keep everyone fed. But for the initial breeding push, you might need to toss them the food yourself.
As for beds, it’s simple math. Two adults = three beds. Three adults = four beds. You get the idea. The beds just need to be placed where the villagers can pathfind to them. If they can’t reach it, it doesn’t count.
Encouraging Villager Willingness
So, you’ve got the beds, you’ve got the food. Now what? Well, the ‘willingness’ is mostly automatic once those conditions are met. The villagers will look around, see the available bed, and if they’ve got snacks in their pockets, they’ll get those green particles. This is your cue that they are ready to breed.
It’s important to keep the area calm. If a hostile mob shows up, or if a villager gets scared, it can reset their willingness. So, make sure your breeding area is well-lit and protected. No one wants to start a family with a zombie banging on the door, right?
Once they’re willing, they’ll look at each other, hearts will pop up, and poof! A baby villager appears. This baby will then immediately try to claim the extra bed. It takes about 20 minutes in game time for them to grow up into an adult, ready to take on a profession or even start breeding themselves. It’s a pretty neat system once you get the hang of it.
Optimizing Villager Trades For Profit
Making the most of villager trading can really boost your Minecraft game. Focusing on efficient trades will get you more resources, rare gear, and enchanted items than just going with whatever comes your way. It pays—literally—to set up a system that targets what you really want, all while keeping your economy growing steady.
Leveraging Emeralds For Valuable Goods
Emeralds are the heart of villager trading. If you play your cards right, you can turn simple resources into stacks of emeralds, then trade those for all sorts of hard-to-get stuff.
Some of the best strategies include:
- Trading easy-to-farm crops (carrots, potatoes, wheat) to Farmer villagers for emeralds.
- Offering sticks (from surplus wood) to Fletchers, who often give emeralds for almost nothing.
- Using emeralds on top-tier Librarians, Armorers, and Toolsmiths for enchanted books, diamond gear, and more.
| Villager Type | Easy Trade Item | Yield (Emeralds Per Stack) |
|---|---|---|
| Farmer | Carrots | 18-20 |
| Fletcher | Sticks | 16-32 |
| Librarian | Paper | 9-12 |
If you set up farms and plant enough crops, you’ll never have to worry about running out of emeralds again. Rotating between Farmers and Fletchers alone can keep your wallet full.
The Impact Of Villager Reputation On Prices
How you treat villagers really changes the prices you get. Villager reputation is Minecraft’s way of rewarding fair play and punishing trouble.
Here’s what affects villager prices:
- Hero of the Village effect after a raid lowers costs (and sometimes even gets you free stuff).
- Hurting or killing villagers will cause prices to go up. They gossip—so word spreads.
- Curing a zombie villager gives permanent discounts at their trades.
Tips to keep prices low:
- Avoid attacking villagers or their pets.
- Rescue zombie villagers and cure them (use a potion of Weakness and a golden apple).
- Trade regularly, but don’t spam cancel trades, as this can cause them to lock out.
Strategic Trading For Enchanted Items
The best enchanted books and armor set you apart late-game, but they aren’t random luck. You can pin down the items you need with a bit of patience.
- For Librarians, break and replace the lectern until the first enchanted book trade is the one you want (like Mending or Fortune III).
- Level up Armorers, Weaponsmiths, and Toolsmiths by trading cheap items until they offer enchanted diamond equipment.
- Use your Farm-to-Emerald skills to buy as many books or items as needed.
Must-have enchantments to target:
- Mending (repairs your gear while you gain XP)
- Unbreaking III (makes tools and armor last way longer)
- Sharpness V or Protection IV (boosts weapon and armor power)
Don’t settle for whatever trades pop up first. Reset their workstations or reset new villagers to get exactly what you’re after. With a bit of grinding, you’ll get the perfect setup for your needs.
Villager Management And Progression
Alright, so you’ve got your villagers set up, maybe you’ve even started breeding them. That’s awesome! But keeping them happy and useful is a whole other ballgame. It’s not just about having them around; it’s about making sure they’re doing their best work and that your whole setup doesn’t fall apart. Think of it like managing a small town – you need to know who’s who, what they do, and how to keep them safe.
Understanding Villager Experience Tiers
Every villager you trade with gains experience, kind of like leveling up in a game. They start as a Novice, then move up through Apprentice, Journeyman, and Expert, all the way to Master. Each level they hit means they’ll offer you better trades. A Novice Librarian might sell you a basic book, but a Master Librarian? They could have those super rare enchantments you’ve been hunting for. It really pays to trade with them regularly to see what new deals pop up.
Here’s a quick look at the tiers:
- Novice: The starting point. Basic trades only.
- Apprentice: Unlocks slightly better offers.
- Journeyman: More advanced items become available.
- Expert: Access to rarer goods and enchantments.
- Master: The highest tier, offering the best possible trades.
The Importance Of Naming Your Villagers
Seriously, don’t skip this part. When you’ve got a bunch of villagers running around, it’s easy to get confused. Naming your key villagers, like your go-to farmer or that librarian with the perfect enchantment, makes life so much simpler. You’ll know exactly who to go to for what, and it helps keep track of who you’ve traded with and who’s got the best deals. All you need is an anvil and a name tag. Just pop the name tag in the anvil, give it a name, and then right-click the villager with the renamed tag. They’ll get a little name above their head, and you’ll have one less thing to worry about.
Protecting Your Villager Population
Villagers are pretty vulnerable, honestly. Mobs love to pick on them, and a single zombie horde can wipe out your whole operation if you’re not careful. You need to make sure their living and working spaces are secure. Think about walls, good lighting to stop spawns, and maybe even a little moat if you’re feeling fancy. If you’re transporting them, use minecarts or boats and make sure the path is clear and safe. A panicked villager won’t trade, and a dead villager definitely won’t.
Keeping your villagers safe isn’t just about preventing losses; it’s about maintaining the economy you’ve built. A secure environment means consistent trades and reliable access to the goods you need. It’s a bit of work, but it stops you from having to start all over again.
Wrapping Up Your Trading Game
So, there you have it. Trading with villagers might seem a bit much at first, but once you get the hang of it, it’s a total game-changer. You can get all sorts of cool stuff, from those super-useful enchantments to rare materials you’d never find otherwise. Remember to keep your villagers safe and happy, and don’t be afraid to breed them to build up your own trading hub. It takes a little effort, sure, but having a reliable source for all your Minecraft needs is totally worth it. Happy trading!
Frequently Asked Questions
What are the different jobs villagers can have in Minecraft?
Villagers can have many jobs, like being a farmer who grows crops, a librarian who sells books and enchantments, an armorer who makes armor, a toolsmith for tools, or a weaponsmith for weapons. Each job is linked to a special block, like a composter for a farmer or a lectern for a librarian. Getting the right job is key to getting the items you want!
How do I get villagers to breed?
To get villagers to have babies, you need to give them enough beds and plenty of food, like bread or carrots. They also need to feel safe and secure. If these things are in place, they’ll become ‘willing’ and have a baby villager. It’s like giving them a safe home and making sure they have enough to eat!
How can I make villager trades cheaper?
Villager prices can change based on a few things. If you trade with a villager a lot, they might lower their prices for you. Also, if you defend them from monsters or cure a zombie villager, they might give you better deals. Keeping them happy and safe is important for good prices!
What are the best enchantments to get from villagers?
Some of the most useful enchantments you can get from librarians are Mending, which repairs your items using experience, and Unbreaking, which makes them last longer. Other great ones include Protection IV for armor and Sharpness V for weapons. These can make your gear super powerful!
How do I make sure my villagers get the job I want them to have?
When a baby villager grows up, they become unemployed. You can give them a job by placing a specific job block nearby, like a blast furnace for an armorer. If you haven’t traded with them yet, you can break the block and try again until they get the job you need. It’s all about placing the right block!
What happens if a villager dies in Minecraft?
Sadly, if a villager dies, you can’t bring them back to life in the game. You’ll need to find another villager or cure a zombie villager to replace them. That’s why it’s super important to protect your villagers from monsters and other dangers to keep your trading hub safe and running!


